Saying goodbye to this chapter of life.
Thanks to everyone who has supported me through this entire adventure. I am forever grateful and thankful. I do believe God gave me a gift, a gift of creativity and a little bit of talent with a paint brush but I also believe there is a time in life when using a gift, a talent or something we are passionate about is not to be used for monetary gain. I believe this time has come for me. I have not at all lost my drive to create, my passion for design or painting but for many reasons it is time for me to move on. My list of people to thank could easily go into the hundreds if I named you all so I'm only going to name a few. These people were instrumental in the very beginning and gave me the confidence and push to start this years ago. My mom and Dad (Travis an Sharon Smith), my sister (Lisa Ledet), brother and sister-in-law (Amy and Michael Smith) my husband (Jason Hess), and my long time friend Jenny Gulett. THANK YOU!
If you know me very well, you know I will not sit idle. I will still have lots on my plate, its just how
I operate. If you are not already aware I own a Yard Greeting business here in McKinney, TX with a good friend Karri Milam. Our company is called SIGN GYPSIES, find us on FB!! or here www.signgypsies.weebly.com
I have also accepted a new job as a TRUNK KEEPER with Matilda Jane Clothing! I am super super excited about this. I Have my own Matilda Jane FB page, you can find it by searched ng Stacey Hess Trunk Keeper. If you are not familiar with the line of clothing for babies, girls, teens and women I assure you, you will fall in love! I love what they stand for, love their clothes and am very grateful to have a position with this great company. I look forward to gaining new clients, visiting with old ones and introducing this line to anyone who will listen :-)
I hope you enjoy this little slide show. The photos are not in any order but there are pics from every year in business. Including my very first Furniture refinishing class (I believe it was in 2010) I'm hoping someone else will remember but I know it was before there was any such thing as Chalk Paint :-)
Click here for Video

Wednesday, December 10, 2014

Monday, March 17, 2014
McKinney Furniture Painting Class
Join me as I teach from start to finish how to properly refinish a piece of furniture. I'm sure you have a small to medium size piece sitting around your house, garage or attic that could use sprucing up. Bring your own piece of furniture and you will leave with a completed piece as well as knowledge on how to tackle other painting projects around your home.
Please e-mail with questions: latedadesigns@hotmail.com

Friday, April 11th, 9:30am
Fee: $89 per person
Click HERE to pay the $45 deposit and reserve your spot. Space is very limited for this class.
Please e-mail with questions: latedadesigns@hotmail.com
Friday, April 11th, 9:30am
Fee: $89 per person
Click HERE to pay the $45 deposit and reserve your spot. Space is very limited for this class.
Thursday, January 23, 2014
Best of 2013
2013 in photos
Busy, Busy, Busy!!!
A year full of meeting and decorating/painting for new clients and friends.
I am obviously not a very good blogger, this is the first post in forever. To keep up with us the best place is Facebook and/or Instagram.
Let me know what some of your favorite's are.


Busy, Busy, Busy!!!
A year full of meeting and decorating/painting for new clients and friends.
I am obviously not a very good blogger, this is the first post in forever. To keep up with us the best place is Facebook and/or Instagram.
Let me know what some of your favorite's are.
 |
| BEFORE |
 |
| REFURBISHED OLD ARMY BOX |
 |
| BEFORE |
 |
| custom window trim and roman shades |
 |
| BEFORE |
 |
| BEFORE |
 |
| CUSTOM BUILT AND FINISHED MEDIA CABINET |
 |
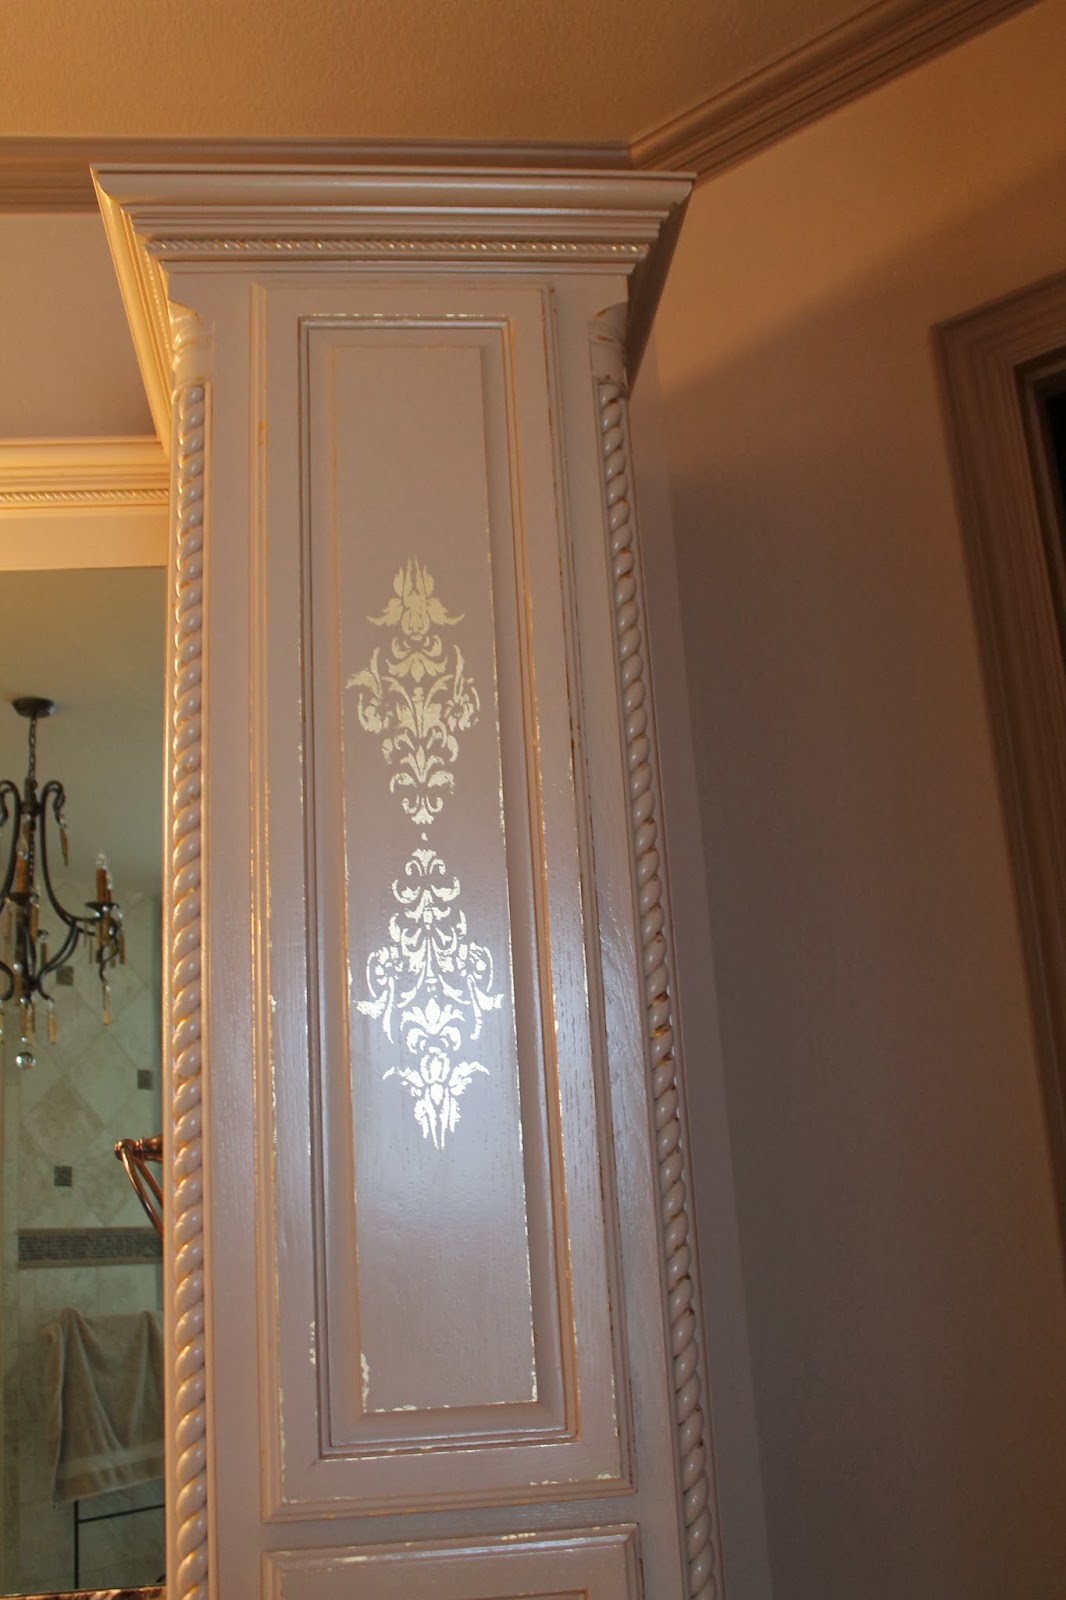
| WALL FINISH |
Sunday, February 17, 2013
My Daughter's Room
My daughter, hehe (still giddy) I have a daughter! Tyler Vivian is 4 months old now and I have still not posted photos of her nursery. It took me months to decide the design direction I would take for her room and it all started with this chandelier.
Most of the room was DIYed in some way or another. My crib was originally black, which was not going to work for this room. I know it is not your typical nursery but I am super excited to share it with you. Enjoy!


 |
| Colorful chandelier and painted ceiling medallion. My inspiration for the room. |
 |
| Plank sign with spindles on each side for over the daybed. I made the bolster pillows on the bed and the coordinating stool. The large pink pillows and shaggy fabric pillows are from Home Goods. Here is the link on how I made the stool out of a free electrical wire spool from Home Depot. |

 |
| The princess and I when she was one week old |
 |
| Crib painted green. Beautiful bedding designed by muah and made by my talented mother. |

 |
| I had been searching for a mirror for over the crib and was really inspired by one from I.O. Metro but did not want to pay the price for it. My sister spotted this mirror at Hob Lob for 50% off and snatched it up for me, a little orange paint and it was perfect. |

 |
| Bookshelves were a must for the room but I did not want to pay to have custom ones built soooooo IKEA saved the day. I purchased two Kilby bookshelves, cut out a decorative topper, added crown molding and painted. LOVE them!! |

 |
| Cool vintage chair that belong to my grandmother. I did not have a chair for the room because we decided to keep my glider/rocker downstairs and it didn't match the room anyway. I remembered sitting in the chair as a child but figured it was long gone so I searched craigslist and found a few similar. Before I purchased I was telling my mom about it and she said she thought meme still had it. She did! and was thrilled that i wanted it for Tyler's room. |
 |
| My mom and i made the curtains and i whipped out the purple cornice board. |
 |
| I know it is a little much for most but once I decided to do a colorful room i just dove all in. My good friend Marcie gave me her grandmothers old furniture, that is the before pic top right. A little stencil action and a lot of time and she looks fabulously bright! Top knobs are from Hob Lob and the handles I made from an old bead necklace and painted them green. |


 |
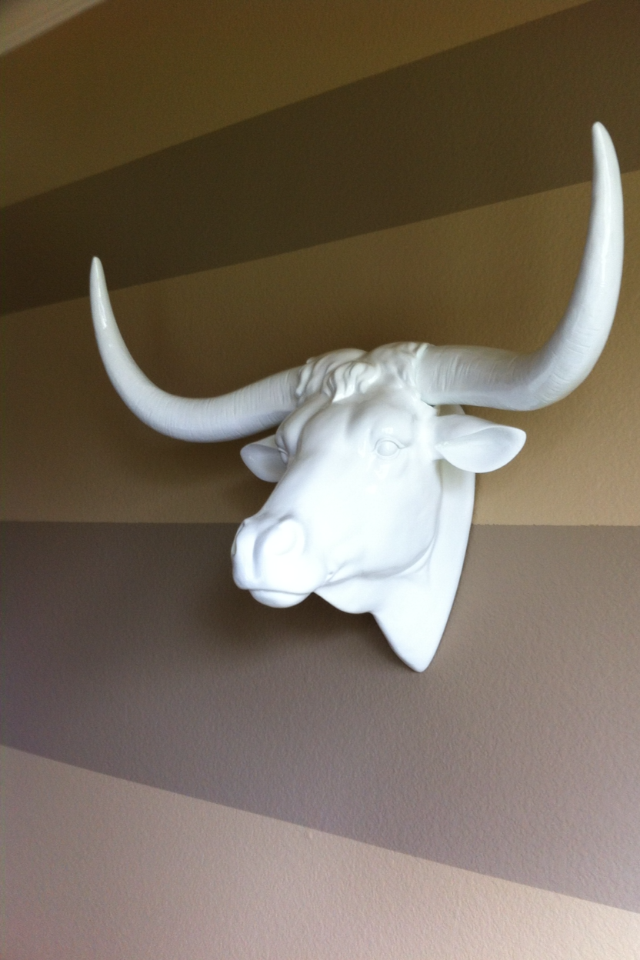
| Antlers as hooks.....just because :-) |


What do you think?
Subscribe to:
Posts (Atom)